
Create a starter project
Describes how to create an empty Optimizely Content Management System (CMS) project, add a page type and configure a start page for the site.
You should start developing in an empty project for better control and understanding. Before doing this (and if you are new to Optimizely), you should install and explore a sample site and get a Optimizely user interface.
Note
An empty Optimizely Content Management System (CMS) site supports both Windows authentication and SQL membership provider (multiplex), so in this case you can log in with your Windows credentials. If you install a project outside the default location Documents > Visual Studio > Projects, ensure that the current user has write permission to the parent directory to which you are installing, as SQL LocalDB does not respect the Administrators group.
Create the project
Follow steps 1-7 in Install a sample site and select Empty in step 4 to create an MVC-based empty site.
You can also watch the following Optimizely installation video to see how to do it.
After you completed all the steps, continue with Project structure below.
Project structure
The project creation process completes these actions:
- Installs main components through NuGet packages (
EPiServer.CMSwhich referencesEPiServer.CMS.Core,EPiServer.CMS.UIand so on). - Creates a database in the
App_Datafolder and configures it with the correct database schema. - Updates configuration files, such as
web.config, with connection strings. - Installs the Optimizely user interface components and places them under the URL
/episerver.
When finalized, you will have a project folder structure containing the following:
App_Datawith the content database and the default log file.Businessfor business logic and helper libraries added during development.Controllersfor controller classes handling user input and responses.Modelsfor content classes representing and manipulating data.Staticfor design and layout files such as scripts, images, and style sheets.Viewsfor renderers.

Note
The site is configured to use IIS Express. If you attempt to run it under Visual Studio Development Server, you may get unexpected behaviors, since the site has a different runtime and configuration model. When you install an empty site, there will be no search, this will be added later.
Create a page type
Create a simple standard page type based on MVC, with an editorial area and a heading. Page types created this way inherit from the IContent interface in Content model and views, providing some built-in functionality used in many content types.
Note
You need to be an administrator for the site to create a page under the website root.
-
Go to the Models folder in Visual Studio, and right-click on Pages.
-
Select Add > New Item, then Episerver and Page Type.
-
Name the item
StandardPage.csand click Add.

-
Uncomment the block with the property
MainBody. This property is added by default because it is commonly used but is commented out. You can remove it if you want. -
Add a property of type
Stringbefore theMainbodyproperty. Copy the attributes fromMainBody, set thesort orderto 0, and change theNameandDescription.

-
Compile your solution, log in, and go to edit view.
-
Under Start (root level), create a page named First page. The StandardPage is automatically applied because this is currently the only available page type.
-
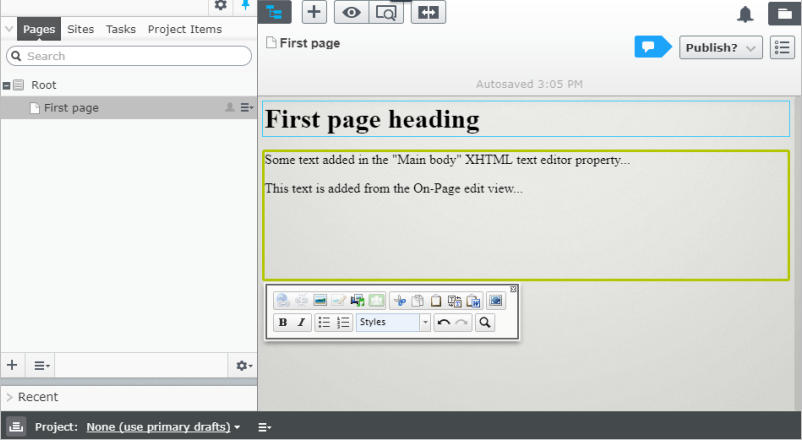
Add some text in the heading and main body properties, and publish the page. Because there is no rendering, the page will open in the All Properties editing view and will not be accessible on the front-end side.

Add page rendering
Add rendering to make the page accessible on the front-end side and automatically make the On-page editing view accessible, for quick editing of selected properties.
-
In Visual Studio, right-click on your project's Controllers folder.
-
Select Add > New Item, then Episerver and Page Controller (MVC).
-
Name the item
StandardPageController.csand click Add.

-
The controller class will inherit from
EPiServer.Web.Mvc.PageController, and will automatically use the StandardPage page type by naming convention in the Optimizely Visual Studio extension. Resolve the references to StandardPage by adding the properusingstatement for your site.

-
Right-click on the Views folder, select Add > New Folder, and name it StandardPage.
-
Right-click on the StandardPage folder, select Add > New item, and then Page Partial View (MVC Razor) under the Episerver group.
-
Name the view
Index.cshtmland click Add.

-
In the
Index.cshtmlfile, change the model to beYourSite.Models.Pages.StandardPage, add the rendering for theHeadingproperty with an<H1>tag before theMainBodyproperty.

-
Build your solution and log in to the edit view. The page you created now has rendering you can edit through the On-Page edit view.
-
Select View on website under Publish to verify that you can also access the page from the front-end side. Notice that the URL reflects the site's language and page structure.
.png")
-
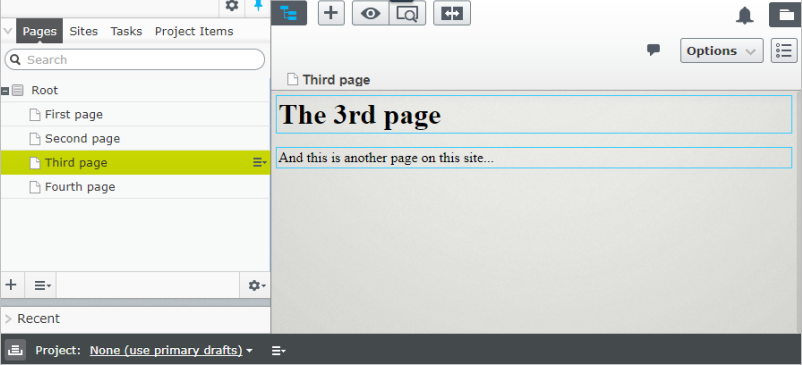
Add a few more pages to your site for a page tree structure.
Configure the start page
You now have a set of accessible pages but have not configured the site. In this final step, you configure the site from the Optimizely admin view.
-
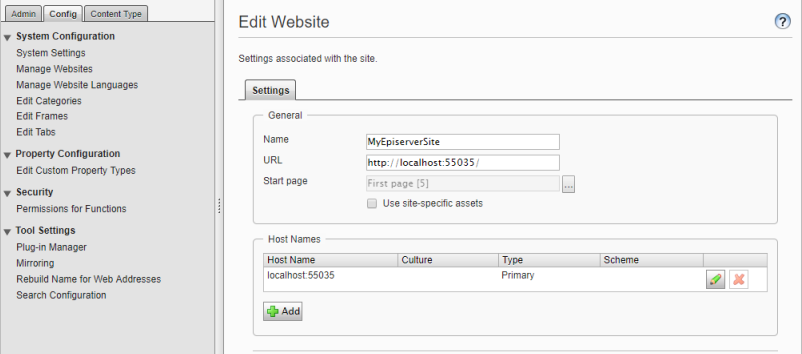
You can configure the site start page by going to Admin > Config > Manage Websites. Click Add site and enter the site name and URL (localhost).
-
Select a page in the page tree structure as the start page, and click Save.
-
Notice the start page in your page tree structure; you can access your site from the front end by browsing your configured URL.
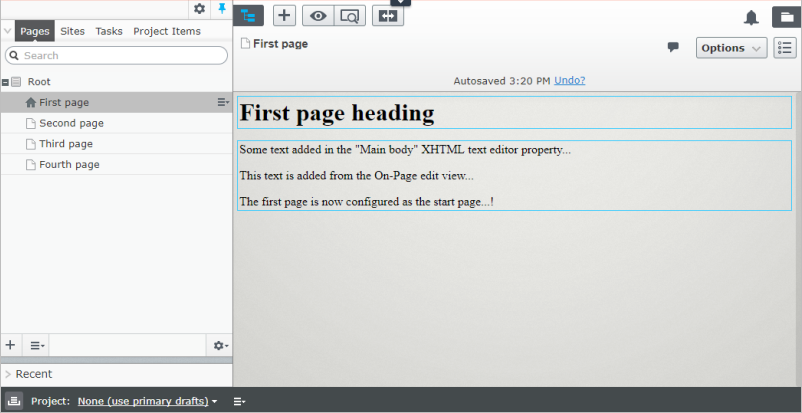
After completing this, you will have a working site with a start page you can use as a starting point for continued development. The next steps are typical in an Optimizely implementation.
Updated 7 days ago